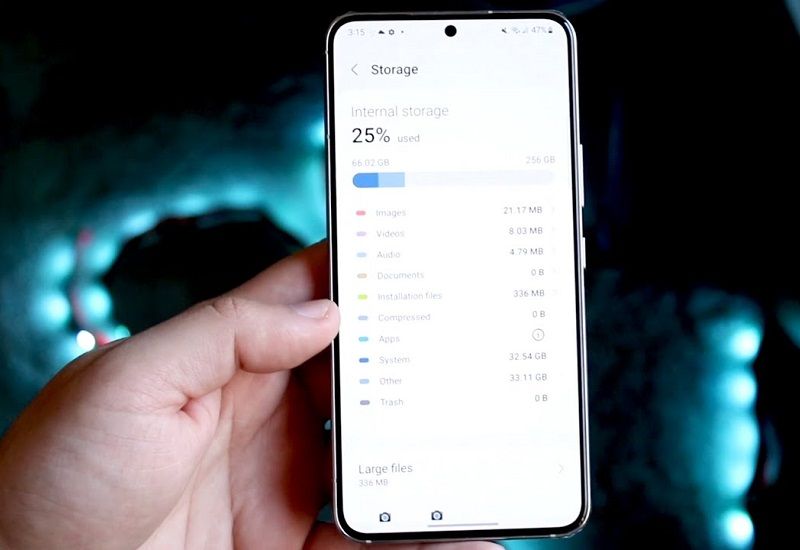
Phone Memory
Phone Memory – Whether your Android phone has expandable storage via a microSD card or not, you will still use all available space, whether 32GB or 200GB. Here are some quick methods for freeing up space on your Android handset, including internal and microSD storage.
Tips To Free Up Space
1. Clear Cache
To improve your user experience, several Android apps save or cache data. Time can be saved using cached data, although the files kept in app caches are just for the user’s convenience and are not strictly required. The app cache is the first place one can look if you need to free up space on your phone quickly.
Go to Settings > Applications > Application Manager and press on the program you wish to change to delete its cached data. To clear the app’s cache, select storage from the Application details menu and then select Clear Cache.
2. Back-Up Your Phone To Drive Or Cloud
If you don’t have the time to shift through old photos and videos, back them up to cloud storage and delete those you don’t wish to locally on your phone. With cloud storage services like Dropbox, choose to have photos automatically backed up whenever you can access WiFi for a full-resolution copy.
3. Use MicroSD Card
Most of the space on your phone is presumably used by apps. You might be able to transfer some of your storage-hogging programs to that microSD card if your Android phone allows you to add one for more storage.
To accomplish this, open Settings, navigate to Applications > Application manager and tap the desired app. Find the button that says “Move to SD card” if the app can be moved, hit this button to transfer the app to the microSD card. (This option might be found on some phones by tapping storage.)
The app will only be partially transferred to the microSD card. The amount of the software that is transferred depends on the app; regrettably, many major games do not transfer a sizable amount of their data to the microSD card.
4. Delete Unnecessary Downloaded Files
Everything you download to your Android phone, including pictures, movies, documents, and other items, is kept in a folder called “downloads.” Most of the files in the download folder probably don’t hold any special meaning for you. (For some reason, many images of Pizza Hut’s Ultimate Hershey’s Chocolate Chip Cookies are in my downloads folder.) Therefore, by eliminating these useless files, you ought to be able to free up some storage space.
5. Remove Unused Applications
Choose the unwanted app on the Apps screen to uninstall it. You might notice a noticeable change in the amount of space on your iPhone right away after deleting apps you no longer use, but there’s more.
6. Safeguard Your Phone
Asurion has aided 300 million clients in protecting, connecting, and utilizing their favorite technology for over 25 years. The same is true for smartphones. Make sure the gadget is secure because life depends on it. Today find out more about Asurion’s phone insurance options.
7. A Local Backup Of Your Phone
Back up your information to your computer to avoid cloud storage fees and restrictions. Of course, the drawback is that you can only do this if you have a wired or wireless connection to your computer.
You can use the Finder app to back up your iPhone if you have an iPhone mobile and a Mac running macOS 10.15 or upper. Select General > Back up the data on iPhone to this Mac after launching the Finder application. Then, by selecting “Encrypt local backup,” you can decide whether to password-protect your backup data.
Final Thought
The best way to erase those is to do it through a different album. Most people start by eliminating pointless screenshots first. On specific devices, the screenshots are automatically categorized and placed in a separate album. To avoid searching through your whole camera roll for those pesky screenshots, open the album, pick all the files, and start deleting.
It may take some time to browse your library, so set up a significant amount of time. Additionally, check the “Bin” or “Recently removed” area twice and clear it when you’re through. It’s a healthy habit to do this occasionally.

